Home
Classes
Art 101
Art 101
Art 102 Intermediate
Art 102 Intermediate
Sketch 101
Sketch 101
Paint techniques
Paint techniques
Mobile Paint and sip
Mobile Paint and Sip
Blog
Contact Us
(951) 716-5020
646.228.8287
Book Class
Blog
Book a class
Events
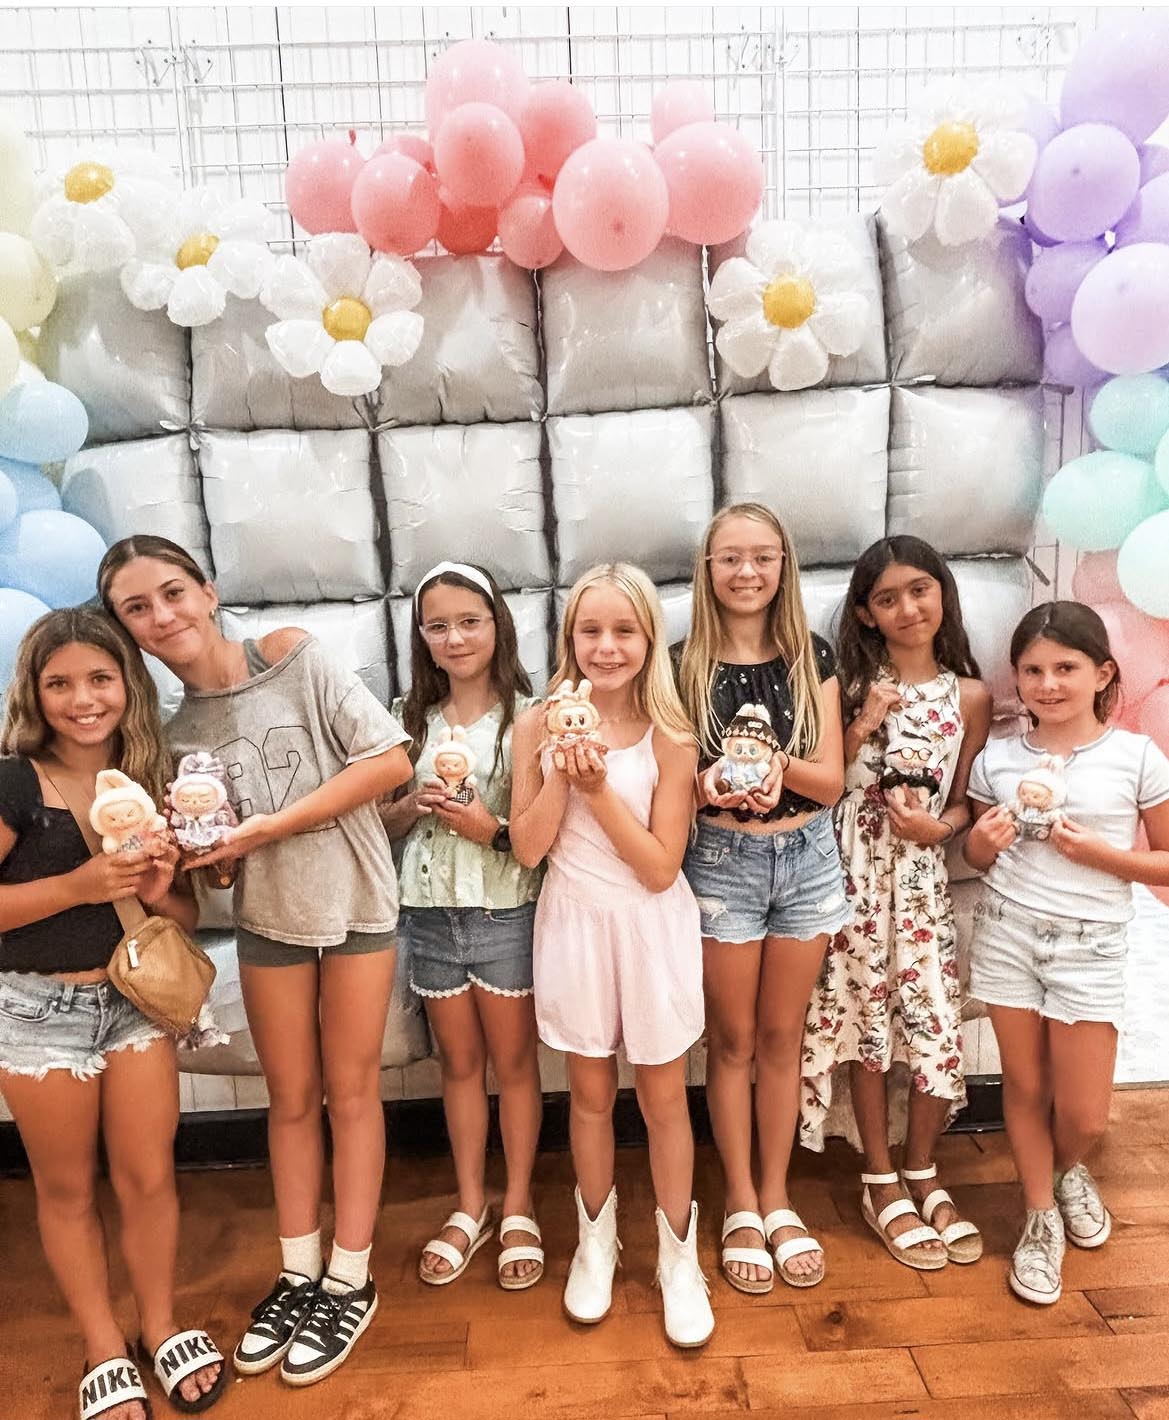
A Guide to Planning a Paint Party for Kids
Paint and Sip Party
9 Paint and Sip Ideas to Try
Paint and Sip Party
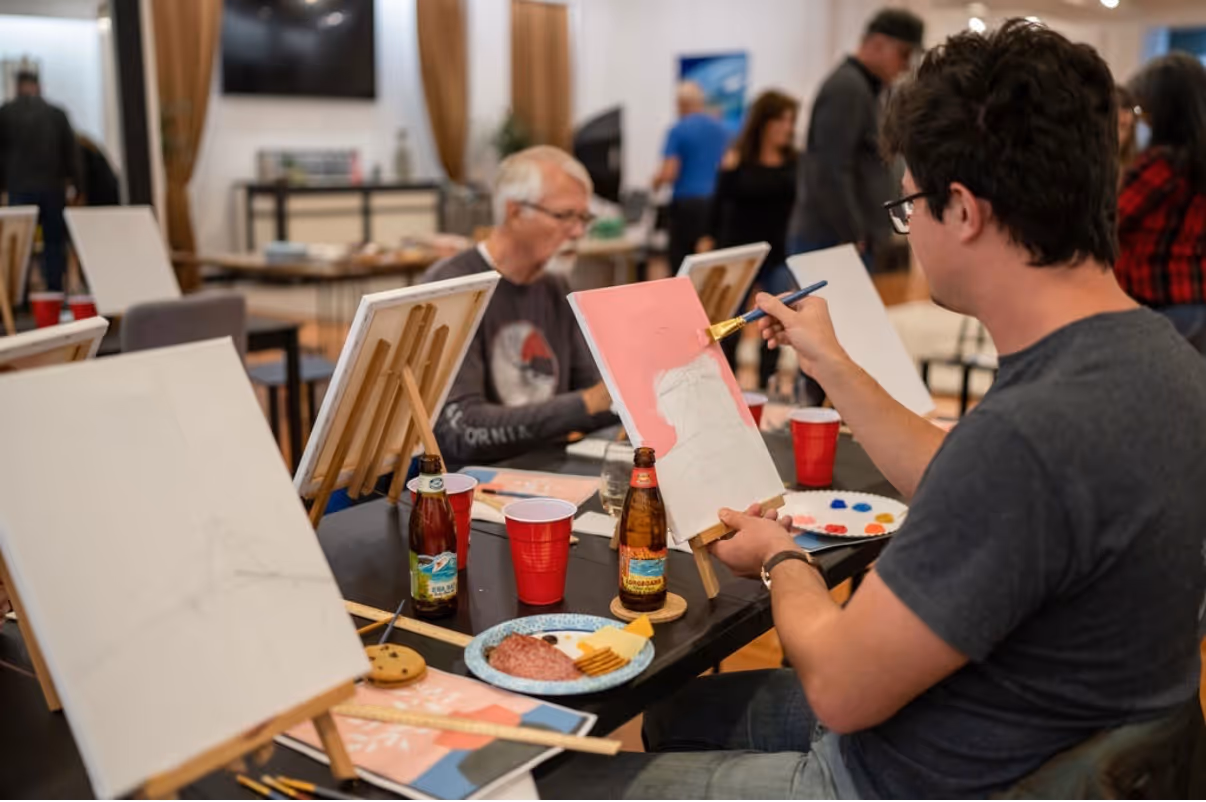
The Benefits of Painting With Friends: Why It’s the Perfect Social Activity
Art Classes For Kids
8 Benefits of Enrolling Your Child in a Children’s Art Class
Art Classes For Kids
Top 10 Benefits of Art Classes for Kids
Art Classes For Kids
Discover the Best Art Classes for Kids in Corona, Ca
Events
Paint Parties Near Me in Corona, CA
Paint and Sip Party
What Is a Paint and Sip Party? Everything You Need to Know
Events
9 Tips for Finding Local Painting Classes for Adults
Events
Helpful Tips for First-Time Painters
Next
Categories
Art Classes For Kids
Paint and Sip Party
Events
News
Recent Posts
A Guide to Planning a Paint Party for Kids
April 24, 2026
9 Paint and Sip Ideas to Try
April 24, 2026
The Benefits of Painting With Friends: Why It’s the Perfect Social Activity
April 24, 2026
8 Benefits of Enrolling Your Child in a Children’s Art Class
April 24, 2026